Black Walnut Ink

Sunrise run, a craggy old tree silhouetted against the backdrop of the East River. Yellowy green globes with brown-black spots, gently bobbing at the ends of finger-like branches. Smashing them open with a hammer, taking the desecrated fruit, boiling, mashing, straining, until a beautiful rich black-brown color glides across the paper.
The Eastern Black Walnut tree grows in the eastern and midwestern regions of the United States. Its fruit ripens during the fall season, changing from a chartreuse green to a deep brown color. When you split open the fruit, it quickly starts to oxidize and can leave a beautiful rich coffee brown stain on your hands.
Materials
2 cups black walnut hulls (about 12 black walnuts)
glass container with a tight-fitting lid or leftover Kombucha bottles
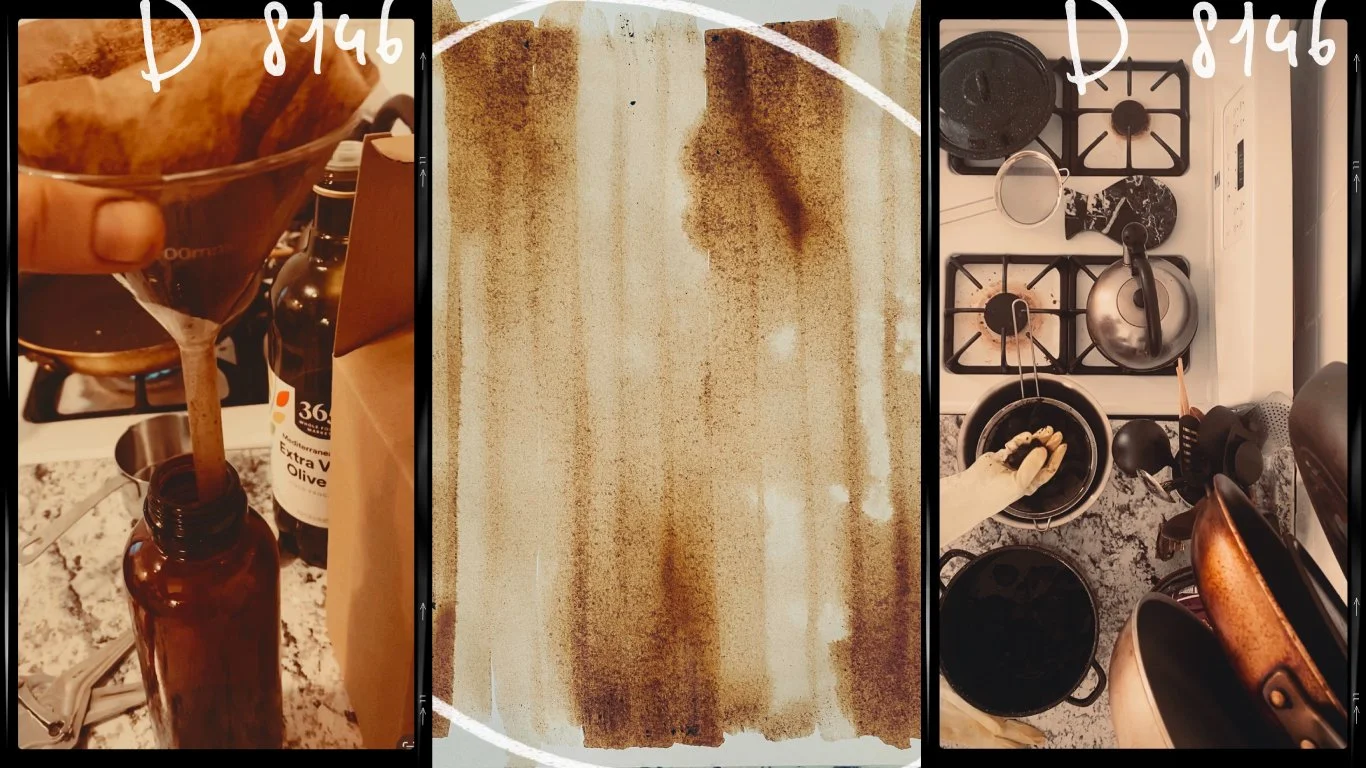
To create an ink using walnut hulls, follow these steps: Add the walnut hulls along with approximately 2 cups of water to a large pot, making sure that they are completely submerged. Place the pot on a stove and heat until the water comes to a boil. Afterward, reduce the heat and let the mixture simmer for three to four hours. The dye should appear deep and rich in color when it's done.
Alternatively, you can use a large glass jar to make the dye. Fill the jar with water and add the walnut hulls. Seal the jar and leave it in the sun for a few days or up to a week, depending on the shade of brown you desire.
After achieving the desired color, strain the black walnut hulls and sediment. Place a coffee filter inside a glass funnel and strain the ink through it to remove any particles. Next, add gum Arabic in small amounts to thicken the ink until it reaches the desired consistency. Finally, transfer the black walnut ink into glass jars and add a whole clove to prevent mold or bacteria growth.
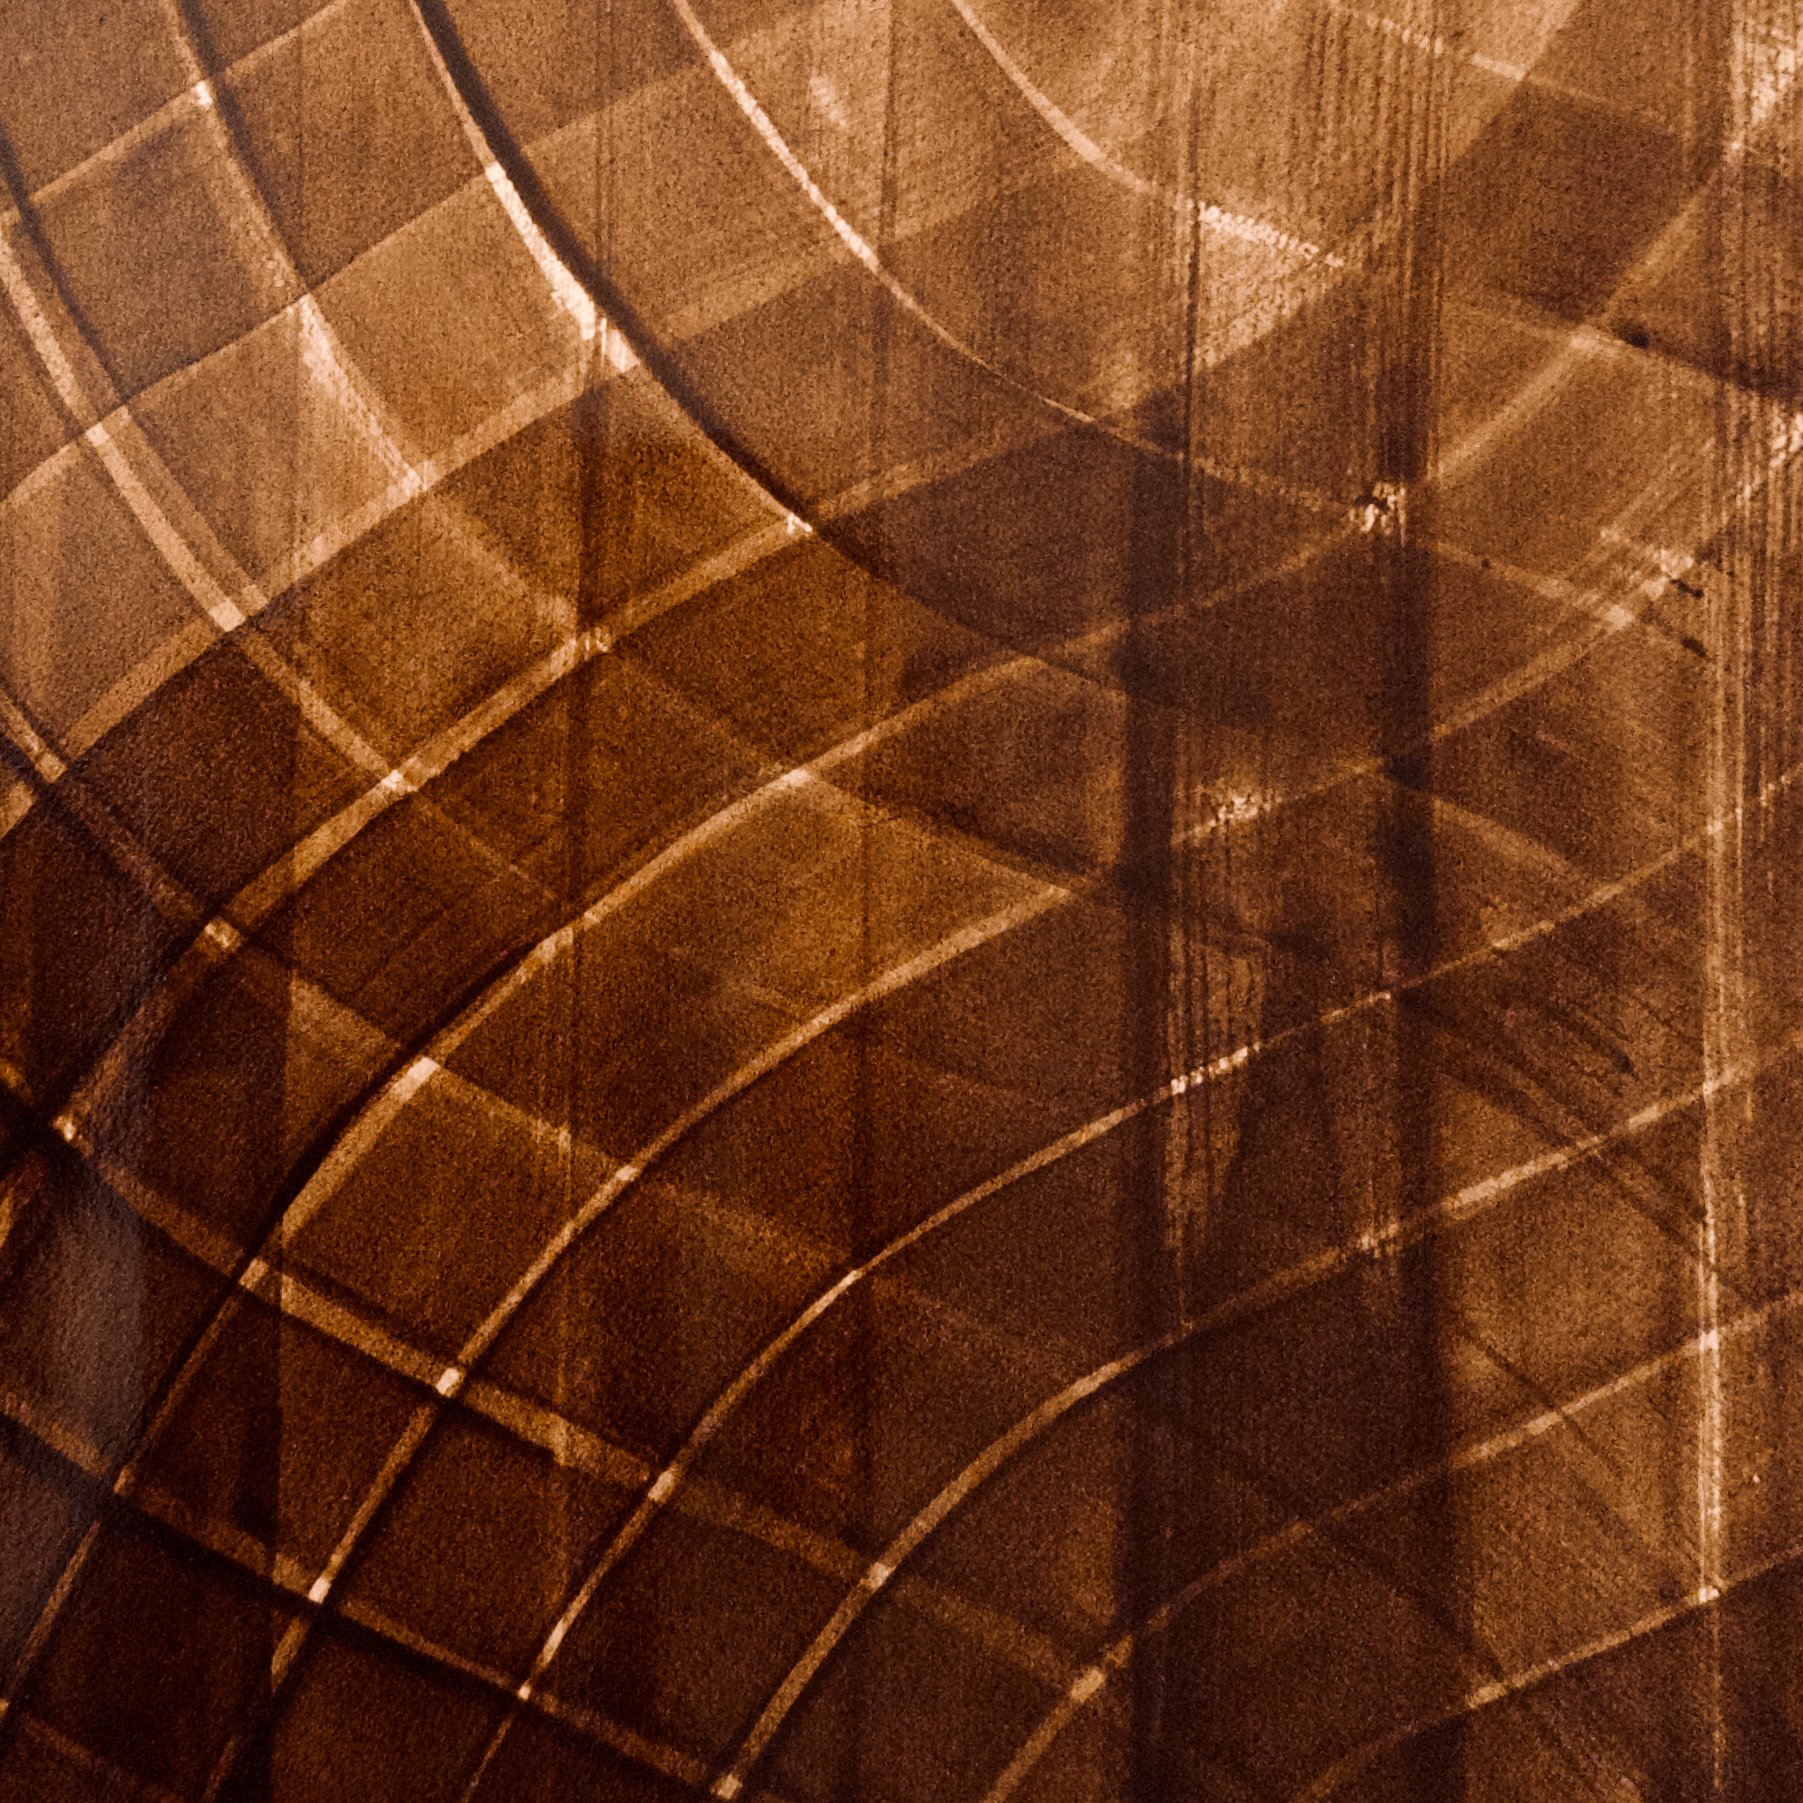
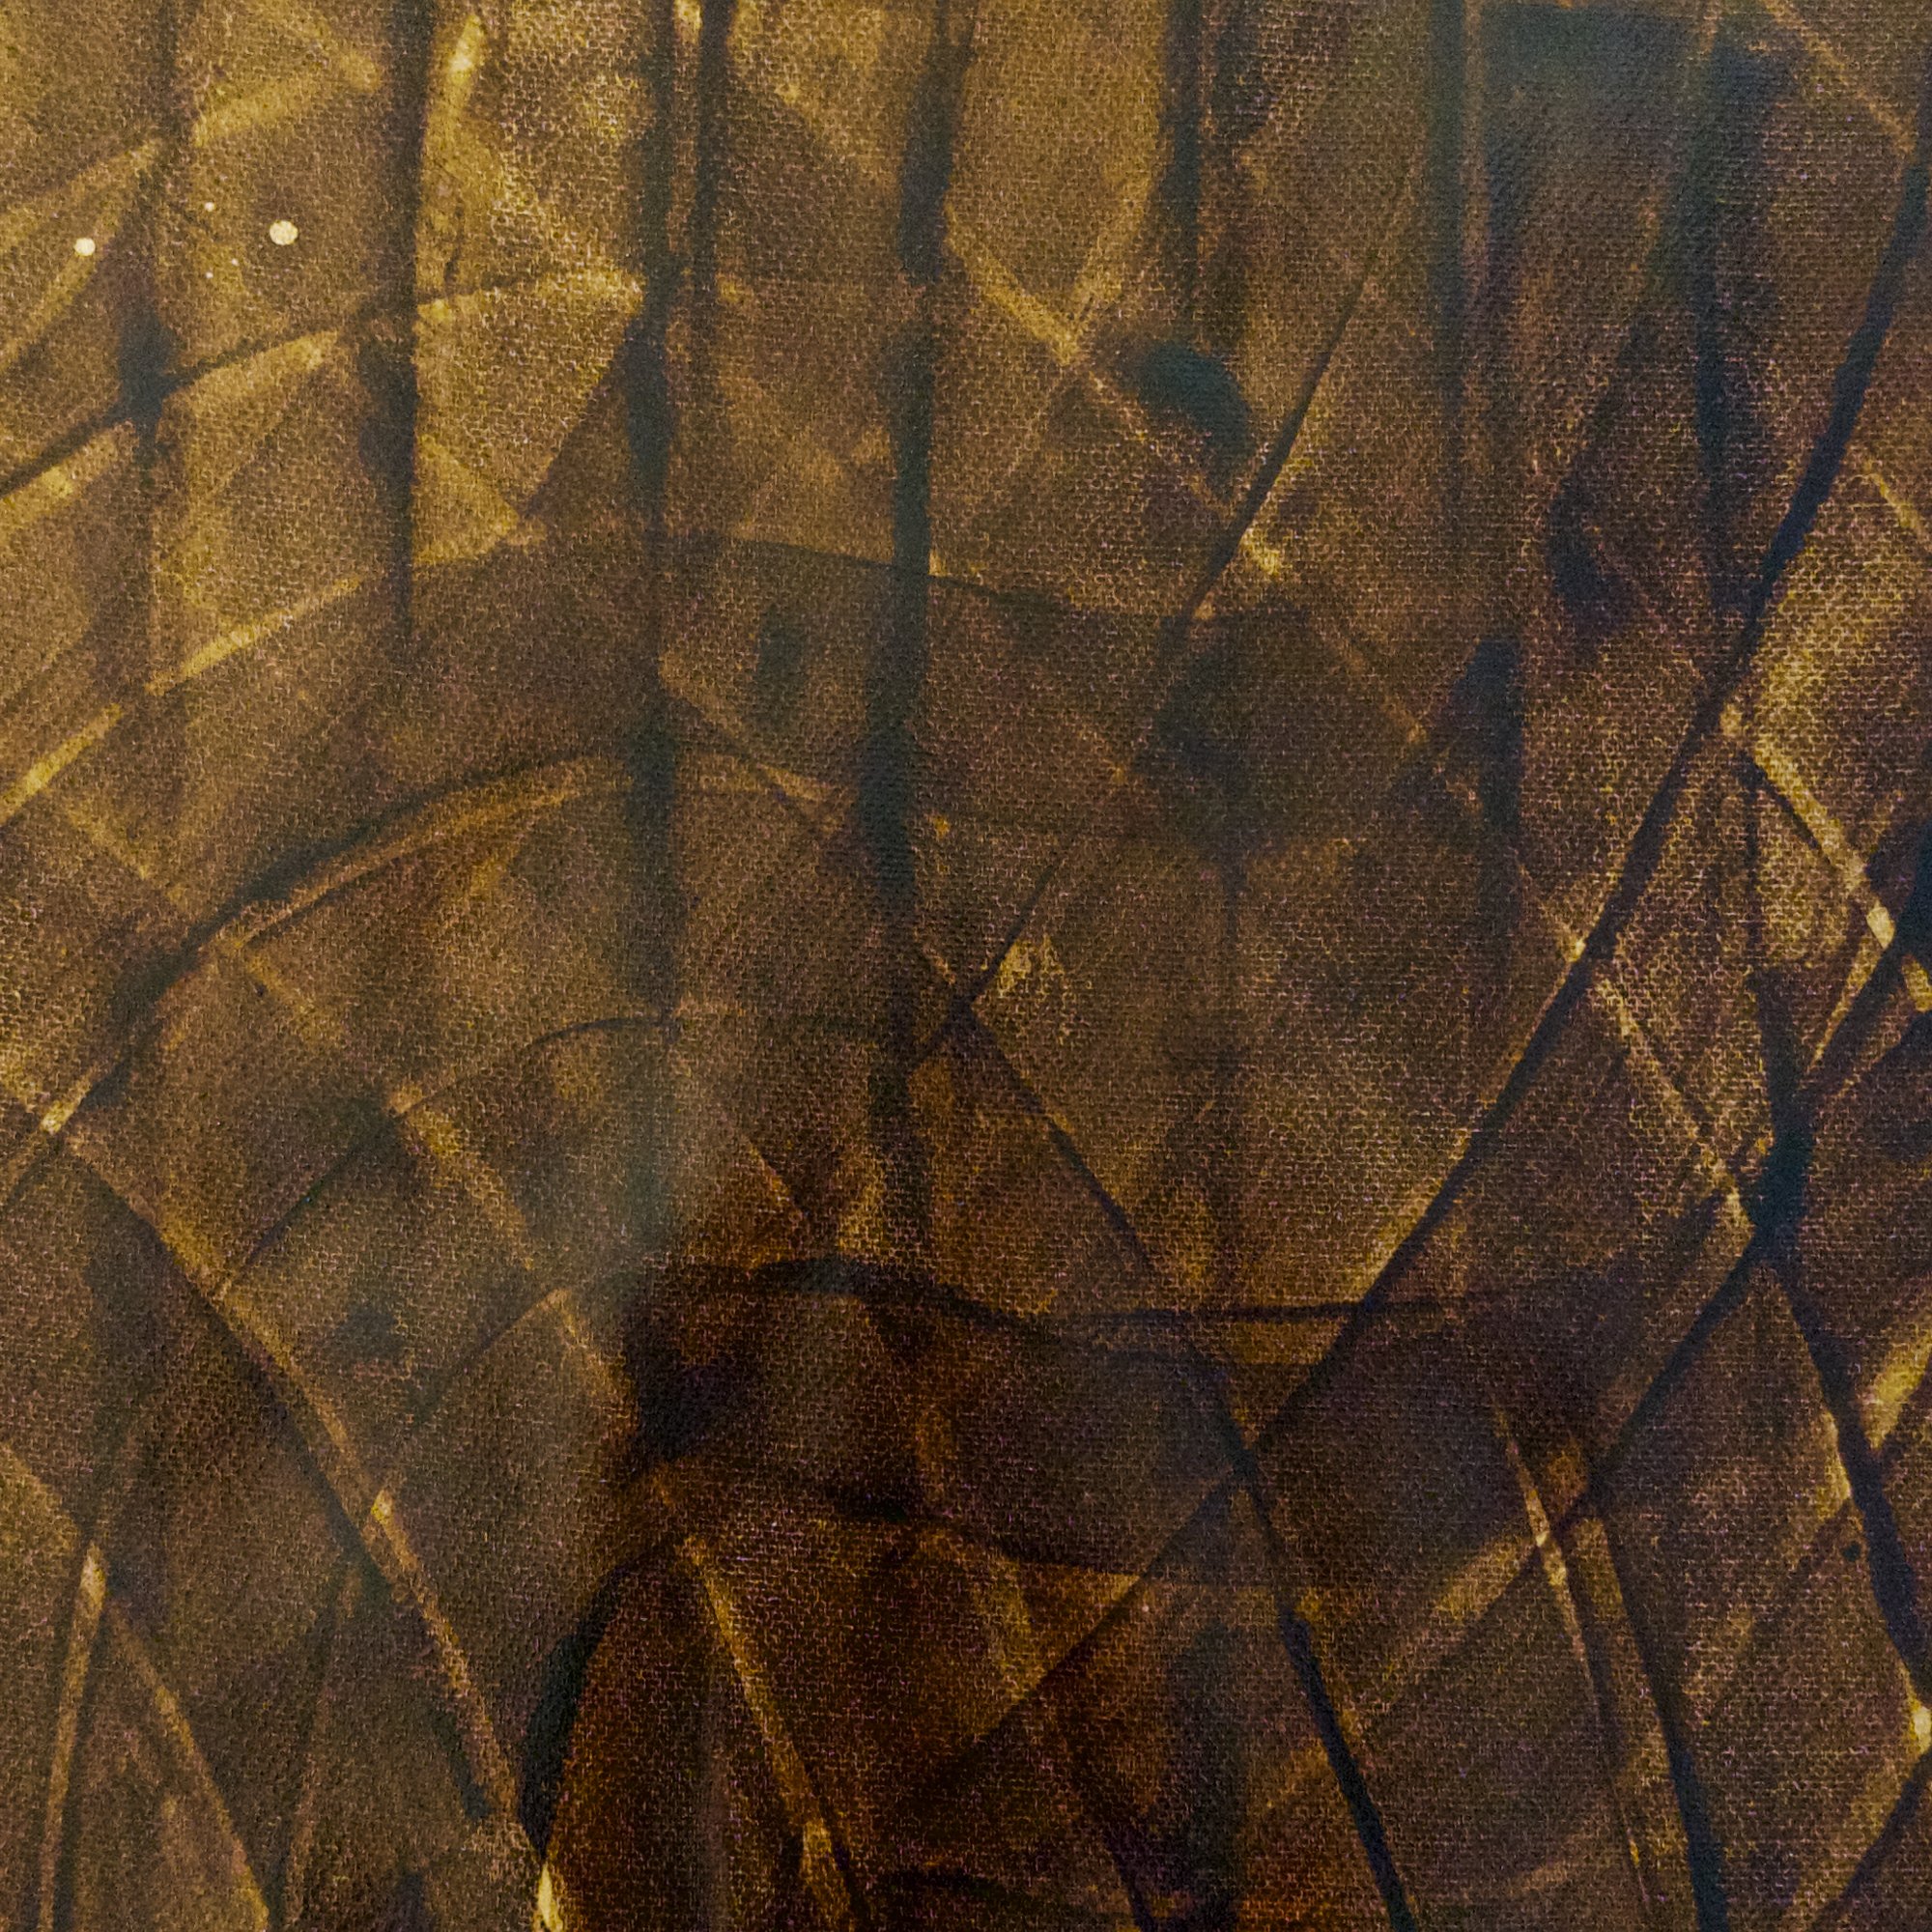
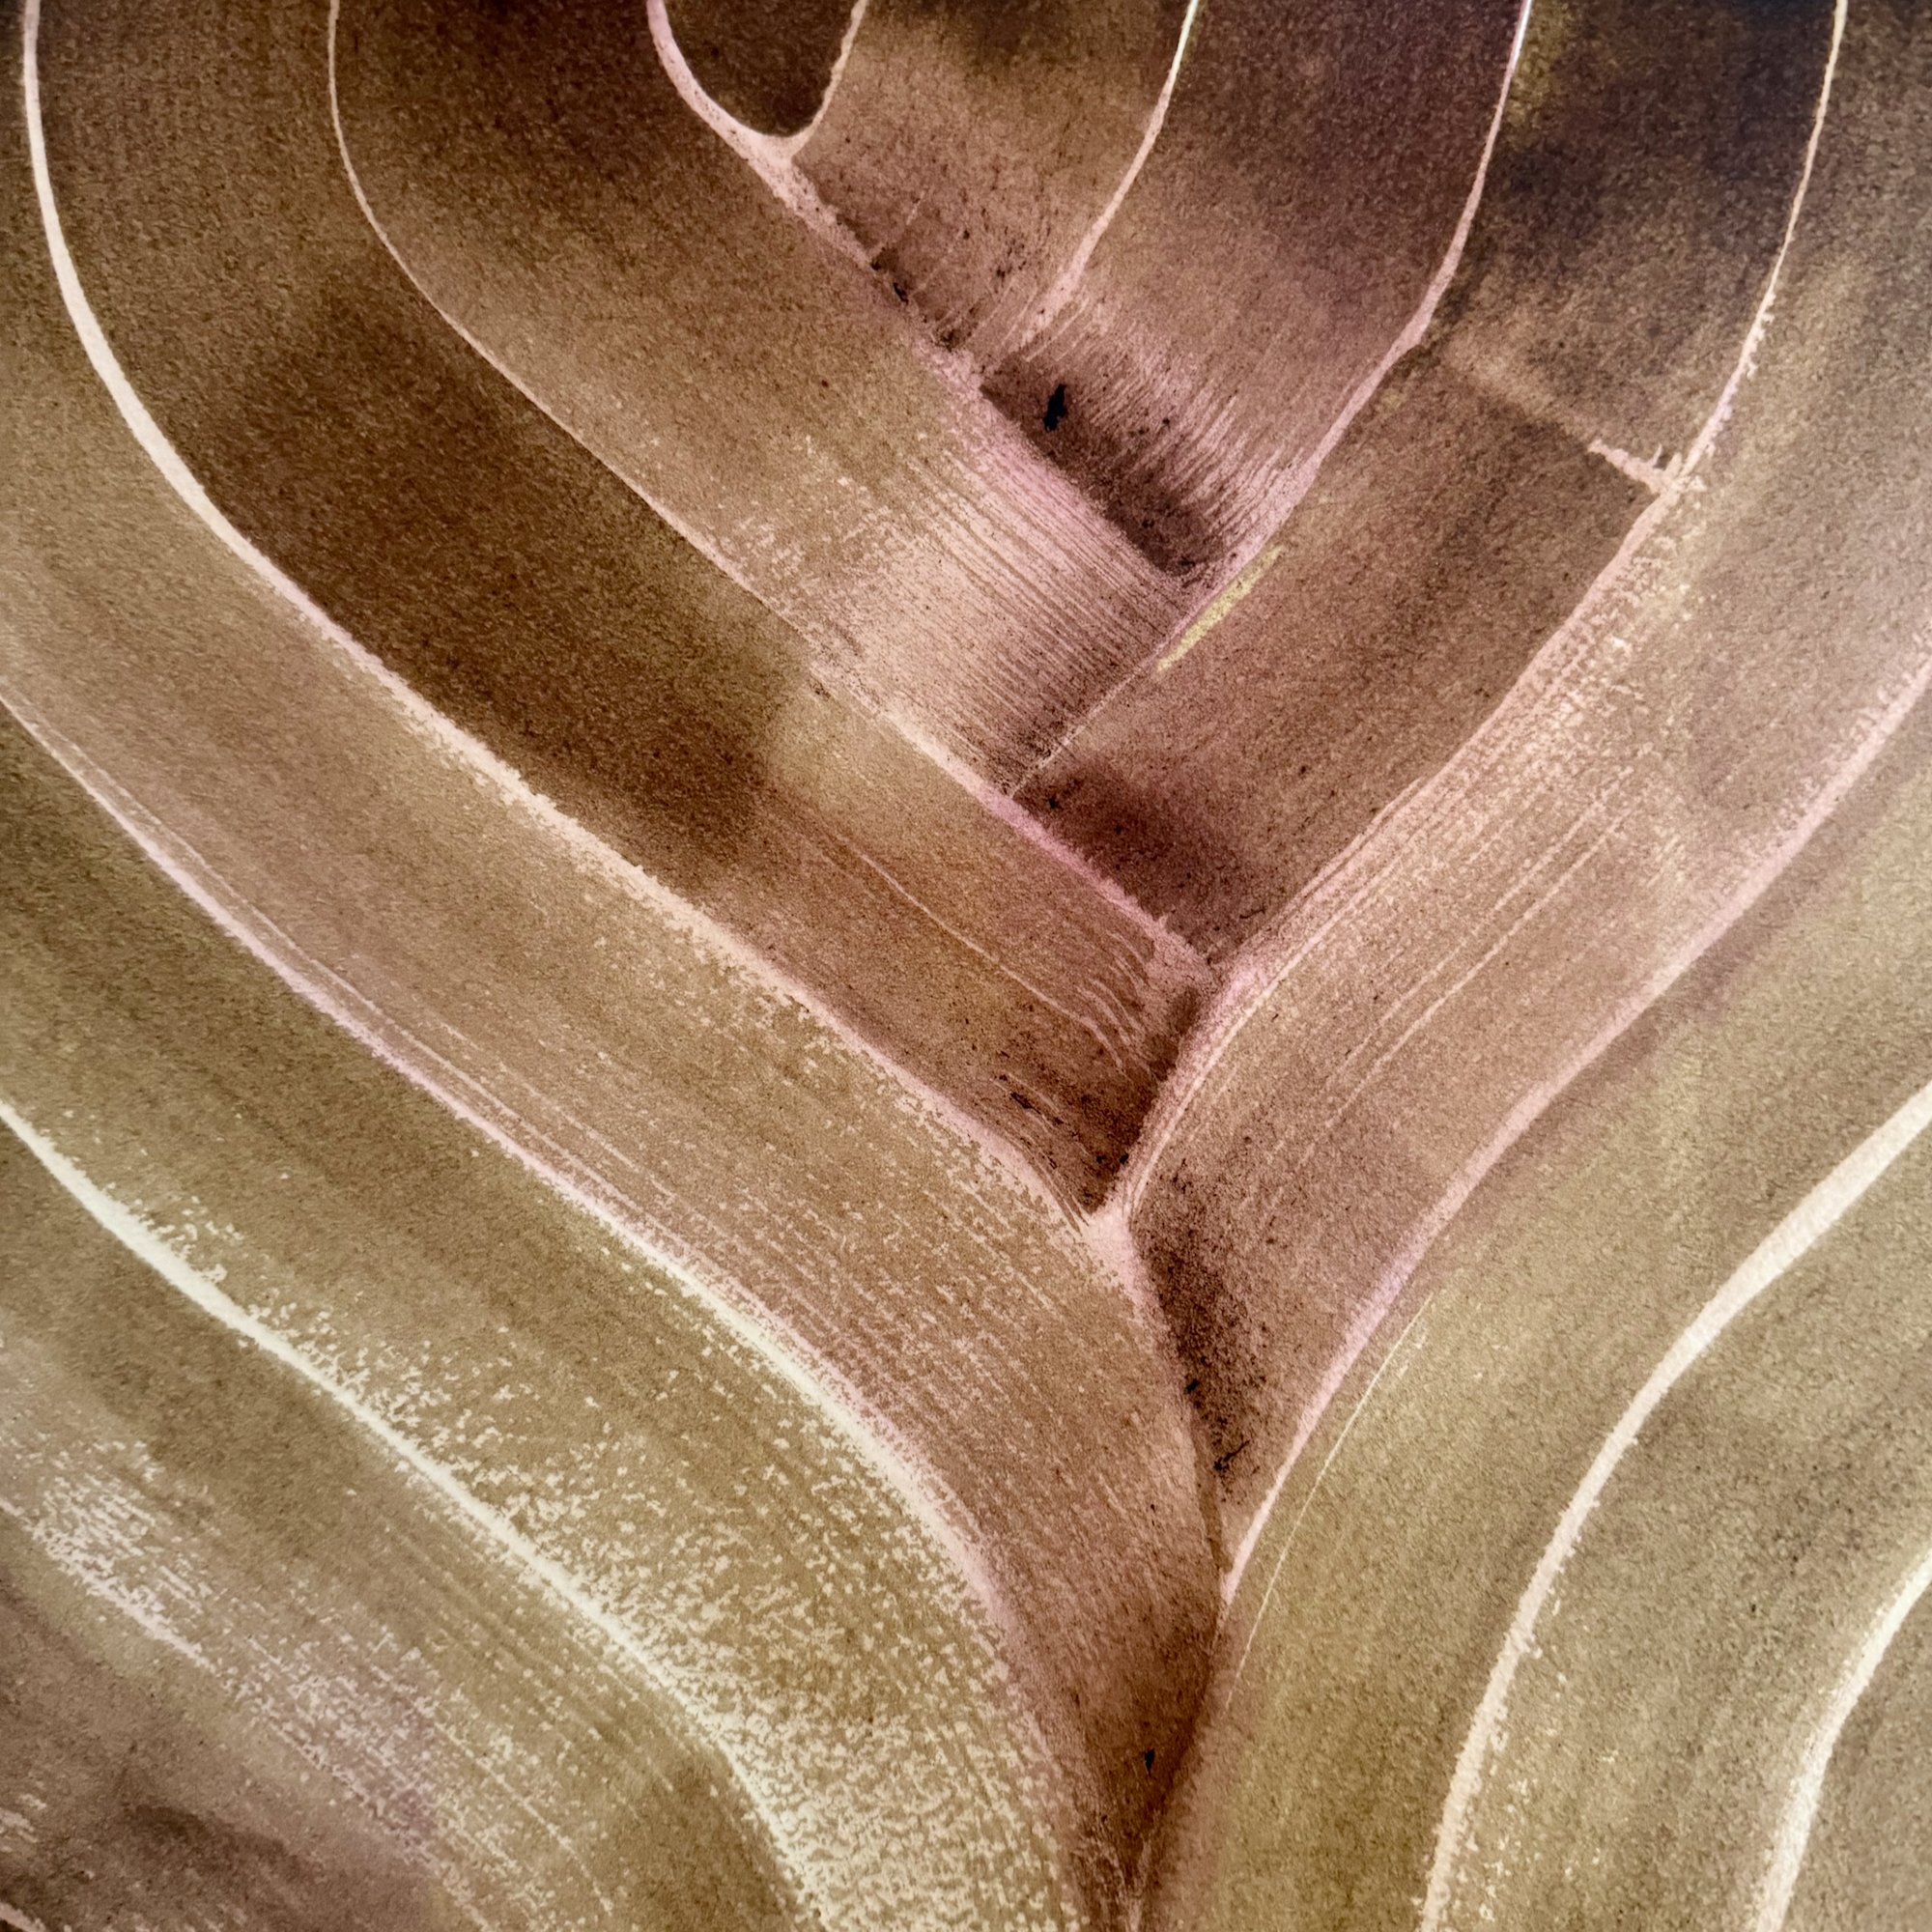
Have fun testing your ink, layering it, using it with different brushes, and playing with it. Black walnut ink has much depth, amplified when layered or varnished.